Product groups setup
In this documentation, we'll find the steps for:
- How to create the Product groups metaobject.
- How to create the Product options type values metaobject.
- How to link the metaobjects in the theme's settings.
- How to test your product groups.
What are "Product groups"?
Product groups is our theme's solution to presenting different products as a variant to one another. This enables you to have different description, variants, images, you can even use entire new templates to link them together.
What are "Product options type values"?
The Product options type values refer to the four settings your products can be displayed in. They are:
- Image
- Swatch
- Text
- Option
Each of these options can be selected for the "Cards" and "Page". The "Cards" refers to the product cards that can be found on the collection pages or the theme's sections. The "Page" refers to the actual product page.
How to create the product groups metafield:
Step 1:
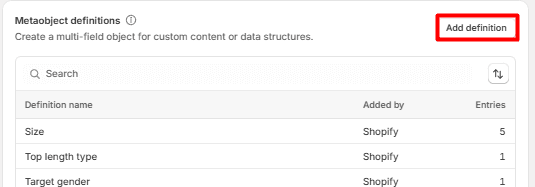
Access the store's Settings > Custom Data > Add metaobject definition
Step 2:
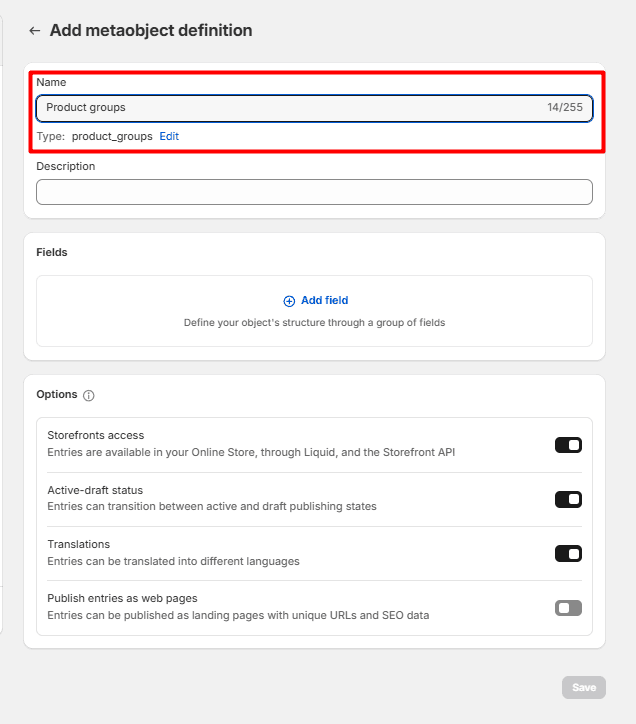
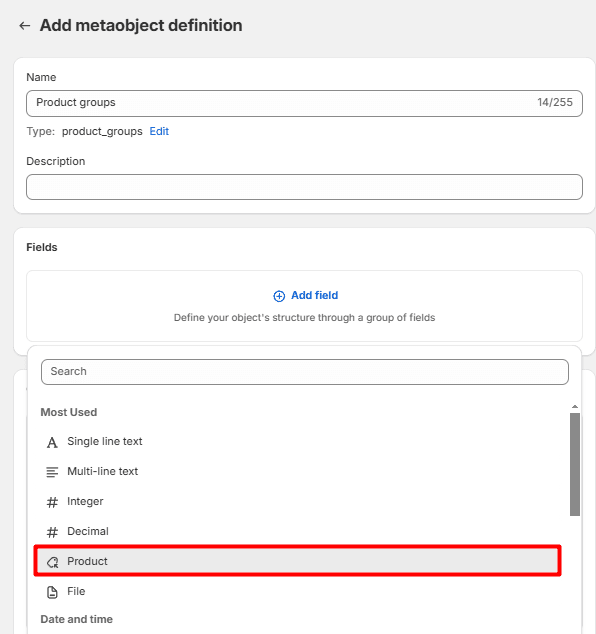
Name your metaobject as: Product groups
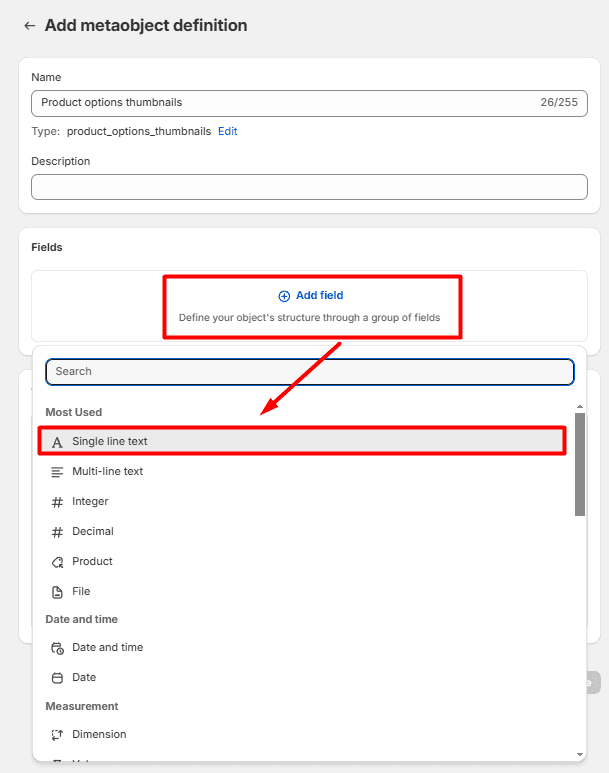
Step 3:
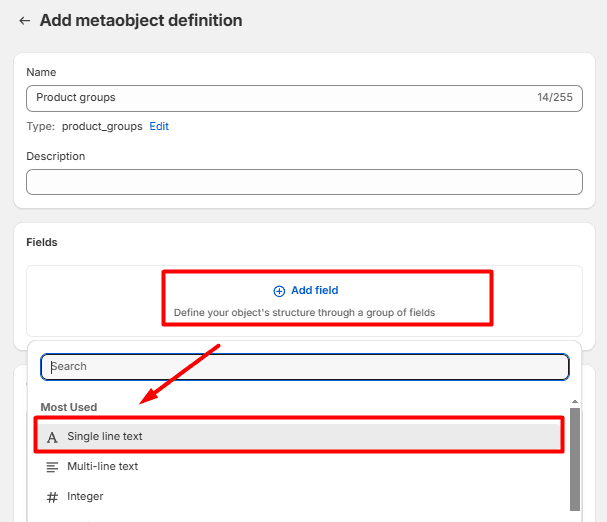
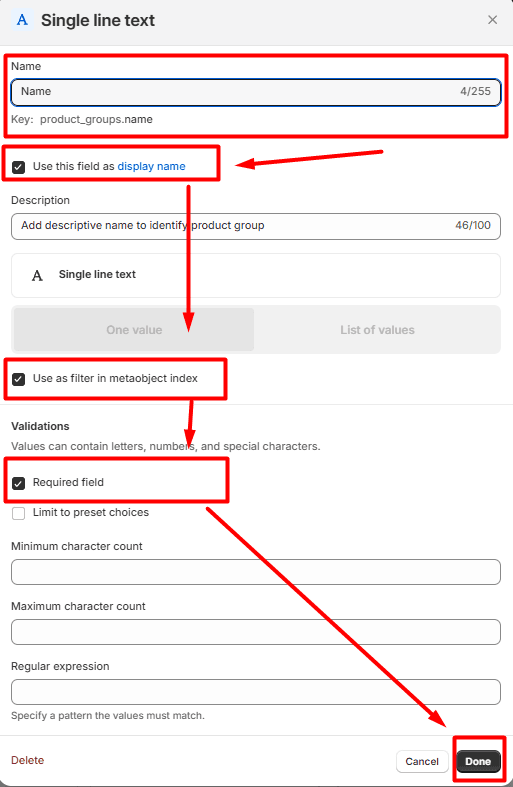
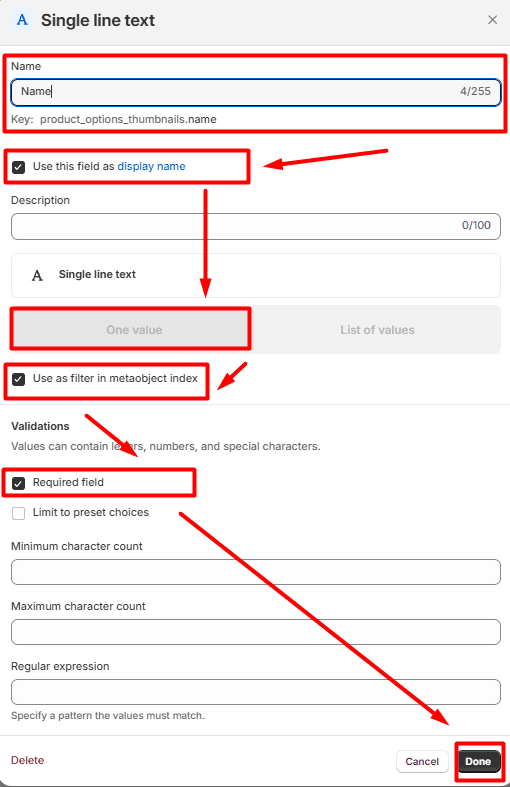
Add a new field and select "Single line text"
- In the Name filed, type in: Name
- Check the box for "Use this field as display name"
- Click on "One value"
- Check the box for "Use as filter in metaobject index"
- Check the box for "Required field"
- Click "Add"
Step 4:
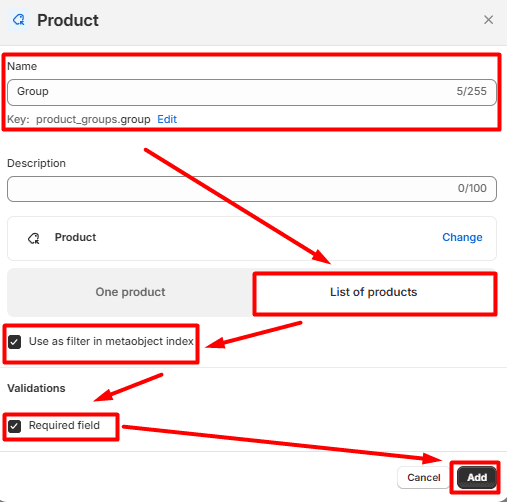
Add a new field and select "Product"
- In the name field, type in: Group
- Select "List of values"
- Check the box for "Use as filter in metaobject index"
- Check the box for "Required field"
- Click "Add"
Step 5:
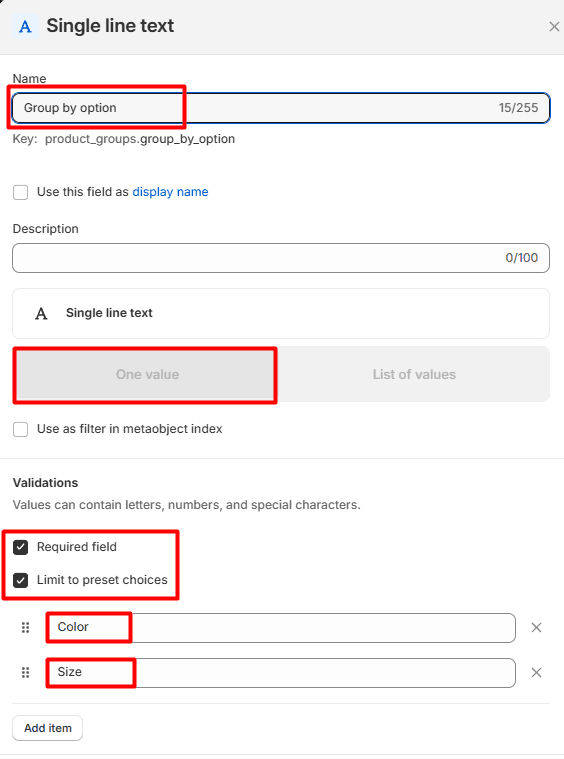
Add a new field and select "Single line text"
- In the Name filed, type in: Group by option
- Select "One value"
- Check the box for "Required field"
- Check the box for "Limit to preset choices"
- In the text field below, type in: Color
- Click on "Add item" to add a new text field
- In the second field, type in: Size
- Click "Add"
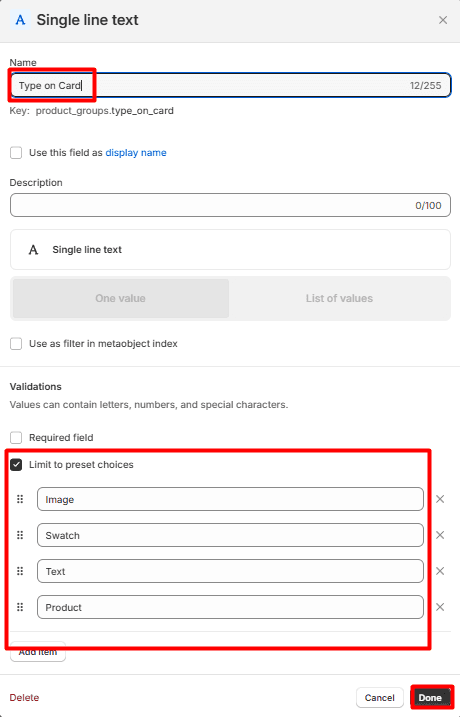
Step 6:
Add a new field and select "Single line text"
- In the Name filed, type in: "Type on Card"
- Select "Single value"
- Check the box for "Limit to preset choices"
- In the text field below, type in: Image
- Click on "Add item" to add a new text field
- In the second field, type in: Swatch
- Click on "Add item" to add a new text field
- In the third field, type in: Text
- Click on "Add item" to add a new text field
- In the forth field, type in: Product
- Click "Add"
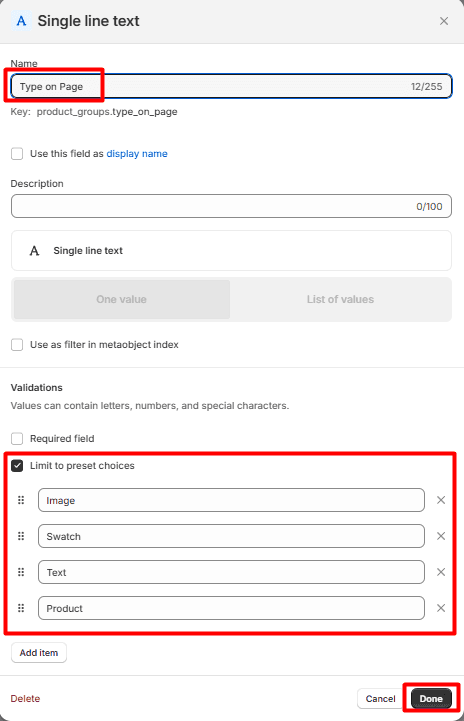
Step 7:
Add a new field and select "Single line text"
- In the Name filed, type in: "Type on Page"
- Select "Single value"
- Check the box for "Limit to preset choices"
- In the text field below, type in: Image
- Click on "Add item" to add a new text field
- In the second field, type in: Swatch
- Click on "Add item" to add a new text field
- In the third field, type in: Text
- Click on "Add item" to add a new text field
- In the forth field, type in: Product
- Click "Add"
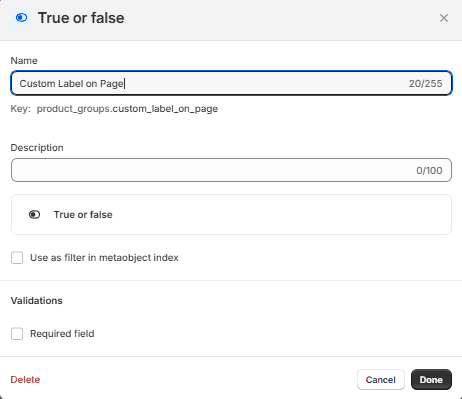
Step 8:
Add a new field and select "True or false"
- In the Name filed, type in: "Custom Label on Page"
- Click "Add"
Note: Make sure you have all of the fields above, and then hit "Save", to save your "Product groups" metaobject
How to create "the Product options type values" metaobject:
Step 1:
Access the store's Settings > Custom Data > Add metaobject definition
In the "Name field" type in: "Product options type values"
Step 2:
Add a new field and select "Single line text"
- In the Name filed, type in: Name
- Check the box for "Use this field as display name"
- Click on "One value"
- Check the box for "Use as filter in metaobject index"
- Check the box for "Required field"
- Click "Add"
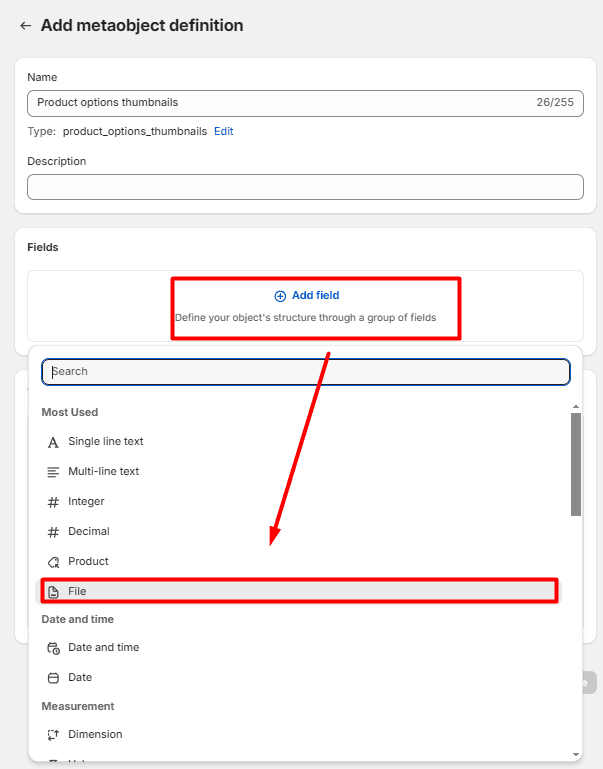
Step 3:
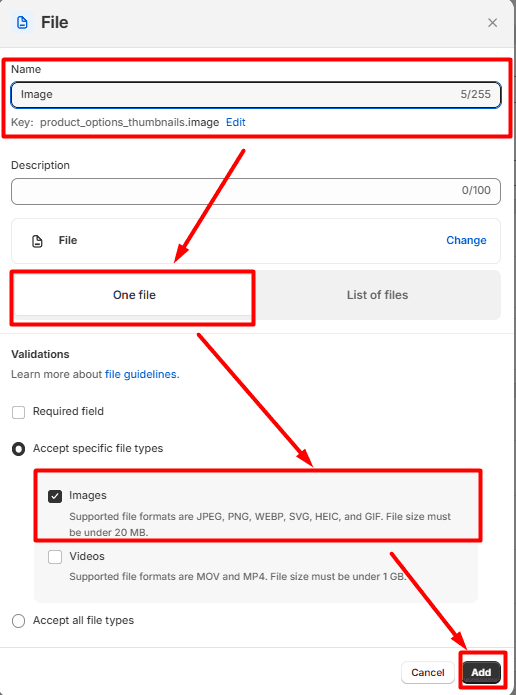
Add a new field "File"
- In the name field, type in: Image
- Select "One file"
- Check the box for "Accept specific file types"
- Check the box for "Images"
- Click "Add"
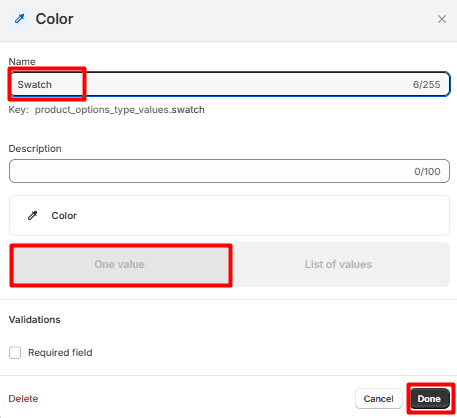
Step 4:
Add a new field "Color"
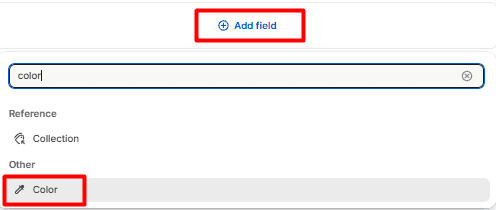
- In the name field, type in: Swatch
- Select "One value"
- Click "Add"
Step 5:
Add a new field and select "Single line text"
- In the Name filed, type in: Name
- Click "Add"
Note: Make sure you have all of the fields above, and then hit "Save", to save your "Product options type values" metaobject
3. How to link the metaobjects in the theme's settings:
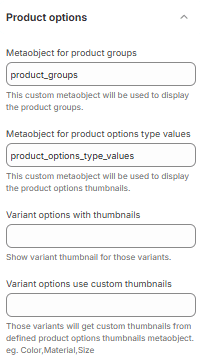
Go to your theme > Theme Settings > Product options
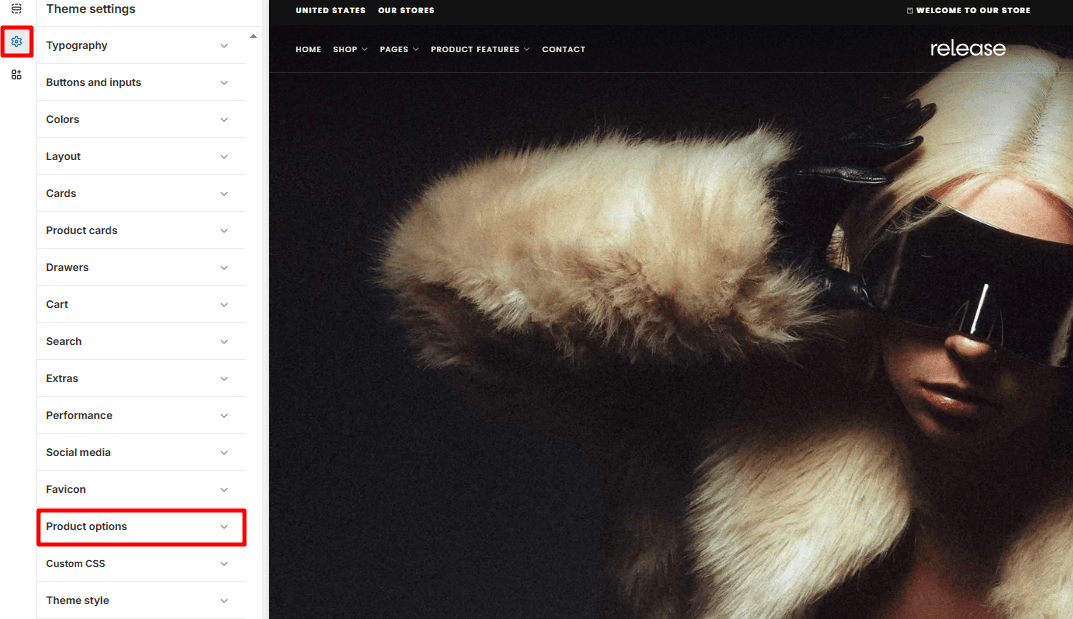
- In the "Metaobject for product groups" field, type in: product_groups
- In the "Metaobject for product options type value" field, type in: product_options_type_values
Save the theme changes.
4. How to create a group of products:
Go to your theme's backend > Content > Metaobjects > Product groups > Add entry
- Name your test entry.
- Select two or more products that can form a group
- In "Group by option" select "Color"
- In "Type on card" select one of the values
- In "Type on page" select one of the values.
- Click save
Note: Except for the "Product" value, all of your other values will need to be configured inside the "Product options type values" metaobject.
Contact UsWas this article helpful?
Have more questions? Submit a request